Why the DJI Mic Mini is a Headache for iPhone Users
We’ve all seen the hype: the DJI Mic Mini is being paraded around as the new “budget king” of wireless audio. And look, it’s a solid piece of hardware for the price. But here’s the reality for those of us who haven’t surrendered to the iPhone 15,16 or 17 upgrade cycle yet: it’s a proprietary nonsense nightmare. DJI ships this kit with a native USB-C adapter, which is great for the “future,” but it’s a total headache for anyone still living the Lightning life.
I’m a fan of future-proofing, but being shook down for a $20 official adapter just to make a “budget” mic work on a standard iPhone feels like a complete rip-off. There is a specific kind of physical frustration in unboxing a sleek new tool only to realize it won’t fit the phone in your pocket without an extra tax. I refuse to pay a fifth of the total product cost for a tiny piece of plastic. I wanted to see if I could solve this with some eBay-style ingenuity and bypass Apple’s dongle tax for good. Before we dive into the hack, let’s look at what DJI actually gives you for your money.
Size, Magnets, and Initial Specs
Marketing photos are one thing, but holding these in your hand is another. The “Mini” tag isn’t just fluff; these transmitters are legitimately tiny. Interestingly, the charging case has some serious heft to it—that’s the battery speaking, which you’ll need if you’re planning on a full day of shooting.
The hardware itself is clever. You get two ways to mount the mics: the standard clip or a magnetic system. I’m a big fan of the magnets; you can sandwich the mic through a shirt for a much cleaner look than a bulky clip. However, the accessory spread is a classic mix of “pro utility” and “gear bag clutter.”
| Included Item | Usefulness |
| USB-C to USB-A Cable | Standard. Keep it for charging at your desk. |
| Aux Cable (3.5mm) | Total cable spaghetti. Only useful for cameras. |
| Magnets & Clips | Essential. The magnets are the only way to wear this thing properly. |
| Mic Covers (Deadcats) | Mandatory for outdoor shoots to kill the wind. |
| Carrying Bag | Vital. Otherwise, you’ll lose those tiny magnets in a week. |
The physical build is impressive for the price, but the specs confirm the annoyance: no native Lightning support in the box. Before I could fix the iPhone issue, I had to see what this thing was actually capable of on a device that didn’t treat USB-C like a foreign language.
Testing on iPad and Noise Cancellation
I always establish a performance baseline on a supported device before I start getting hacky with workarounds. I plugged the receiver into a USB-C iPad, and it was the dream scenario: pure plug-and-play. No bloated apps to download, no menu-diving—just instant audio.
This is where I tested the Noise Cancellation. You click the power button once, and the unit flips into “yellow light” mode. Even with some background hum in the room, the difference was immediate. It does sound a bit processed, but if you’re recording near a noisy AC unit or out in the wind, it’s a miracle fix. But again, proving it works on an iPad doesn’t help my iPhone situation.
Aux Cables and the “Dongle Hell”
My first instinct was to use the “sunk cost” gear I already had lying around. I tried a cable-bound setup using a €7 aux cable plugged into the receiver, adapted through the standard Apple Lightning-to-3.5mm dongle. Not only does this look like an absolute mess—dangling a web of wires from your phone—but it was a total failure.
Despite ensuring the phone wasn’t in “low power mode” and checking batteries, this setup physically failed to pass audio in my tests. It’s a dead end. Even if it had worked, you’d be stuck recording audio into a separate app and stitching it to your video in post-production. That’s an extra, annoying step that defeats the purpose of “mobile” filmmaking. I needed a direct digital connection to the Lightning port that didn’t involve a daisy chain of adapters.
Making Lightning Work for Cheap
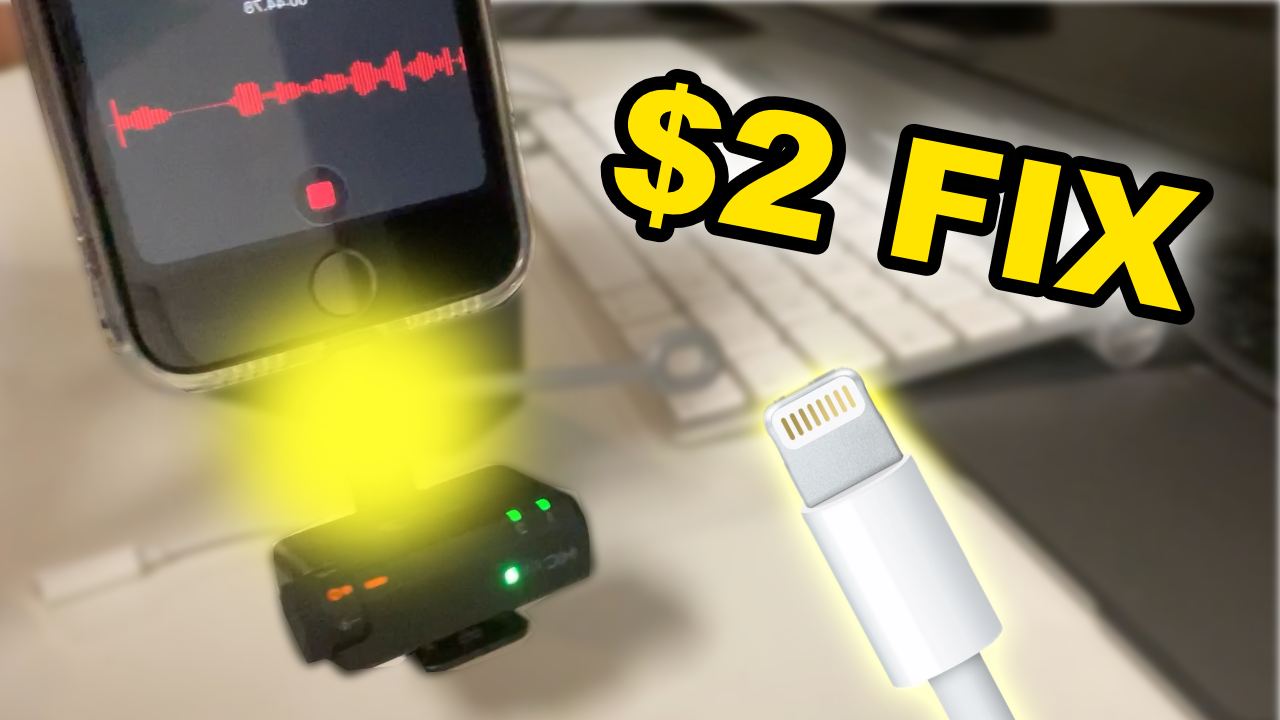
After the “dongle hell” failure, I went for the most pragmatic solution: a generic, $2 USB-C to Lightning pigtail adapter. It looks a bit weird—a tiny cable bridge between the receiver and the phone – but the results were instant. I plugged it in, and the flashing light on the receiver went solid immediately. No errors, no “accessory not supported.” It just worked, saving the audio directly to the video file.
| Feature | The Official Path | The Nate Estate Path ($2 Fix) |
| Price | ~$20.00 | ~$2.00 |
| Bulk | Minimal | Slightly clunky/weird but functional |
| Case Fit | Fits perfectly | Fits (with the Nate Estate hack) |
Pro Tip: This is the ultimate DIY win. The adapter usually comes with a small rubber band/tether. If you snip that off, the $2 adapter actually fits inside the DJI Mic Mini charging case. You can close the lid and keep your “fix” tucked away with the mics at all times. It’s a permanent, portable solution for the cost of a cup of coffee.
What DJI Didn’t Tell You
I’m all about radical honesty, and there are some things DJI definitely glossed over in the marketing. The biggest “gotcha” is the lack of onboard audio recording. This is a massive omission for a modern wireless mic. If your phone connection wiggles loose or the adapter fails, your audio is gone forever. You are 100% reliant on your phone’s storage.
Then there are the physical quirks. The buttons are incredibly sensitive; I actually paused a recording mid-test just by handling the transmitter. Also, a heads-up for the Voice Memo app users: when I tested it, the on-screen waveform didn’t look like it was moving correctly, which usually means it’s not working. Don’t panic. The audio was actually being captured perfectly. Trust the solid lights on the receiver more than the glitchy visuals on your screen.
The Verdict: Is the DJI Mic Mini Worth the Hassle?
The goal here was to get high-quality audio on older hardware without overspending on the “accessory tax.” If you’re willing to use a $2 generic adapter and do a little surgery on a rubber band, this is a massive upgrade over the internal iPhone mic, especially when you’re dealing with wind or distance.
Buy it if:
- You have a $2 USB-C to Lightning dongle and value your money over Apple’s branding.
- You want the smallest, most portable kit possible.
- You need decent noise cancellation for noisy environments.
Avoid it if:
- You need the professional peace of mind that comes with onboard backup recording.
- You absolutely hate having any kind of dongle sticking out of your phone.
At the end of the day, the DJI Mic Mini is great hardware held back by a single port choice. But with a $2 fix and a little ingenuity, you can bypass the marketing hype and get a pro-sounding setup on your “old” iPhone for next to nothing. Stay pragmatic, keep your gear running, and don’t let a connector stop your creativity.